Description
Garage Door Weather Stripping Kit Single Door
Garage Door Weather Stripping Kit Single Door
This kit is meant for a 1 car wide, or single wide garage doors.
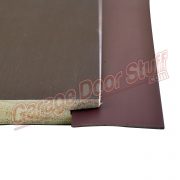
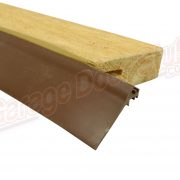
This weather seal provides and excellent exterior seal to your garage door. Because it is sealed to the doors structure, it keeps cold, wind, snow, rain and debris from entering the dwelling. This can be installed on all single wide doors made of any material, insulated or non insulated. Say goodbye to snow and rain getting into the garage at the ends of the door.
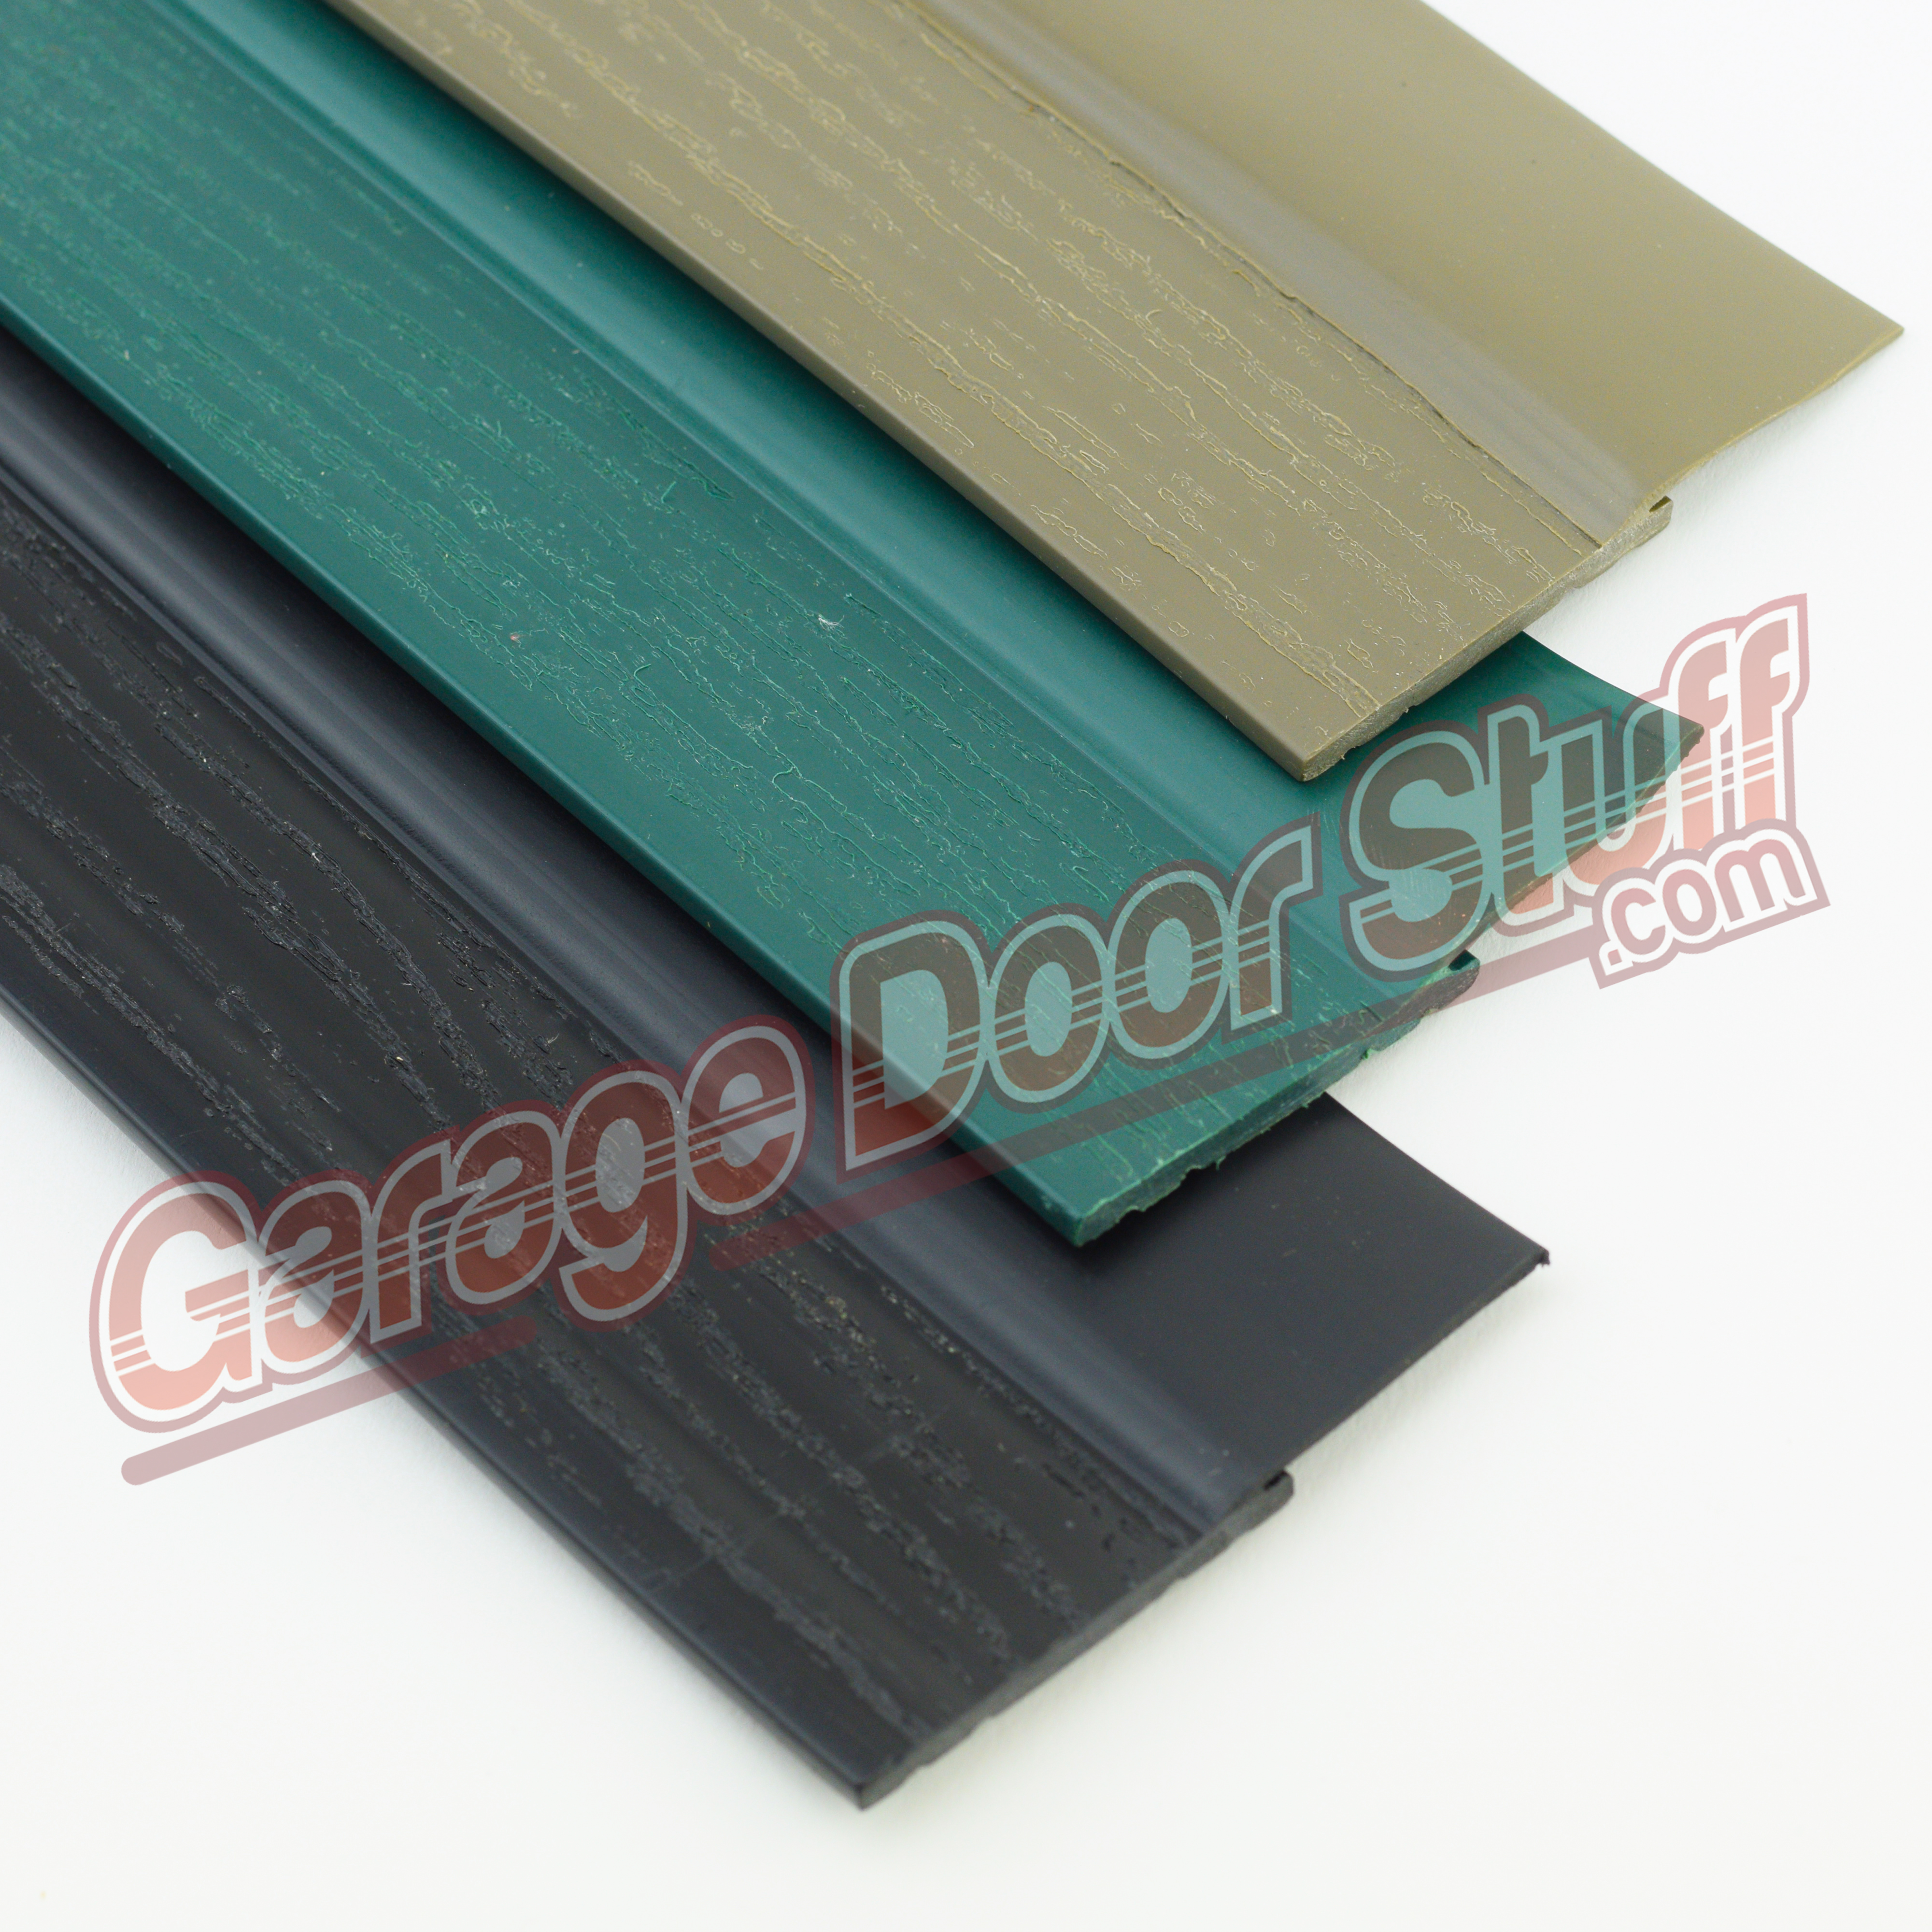
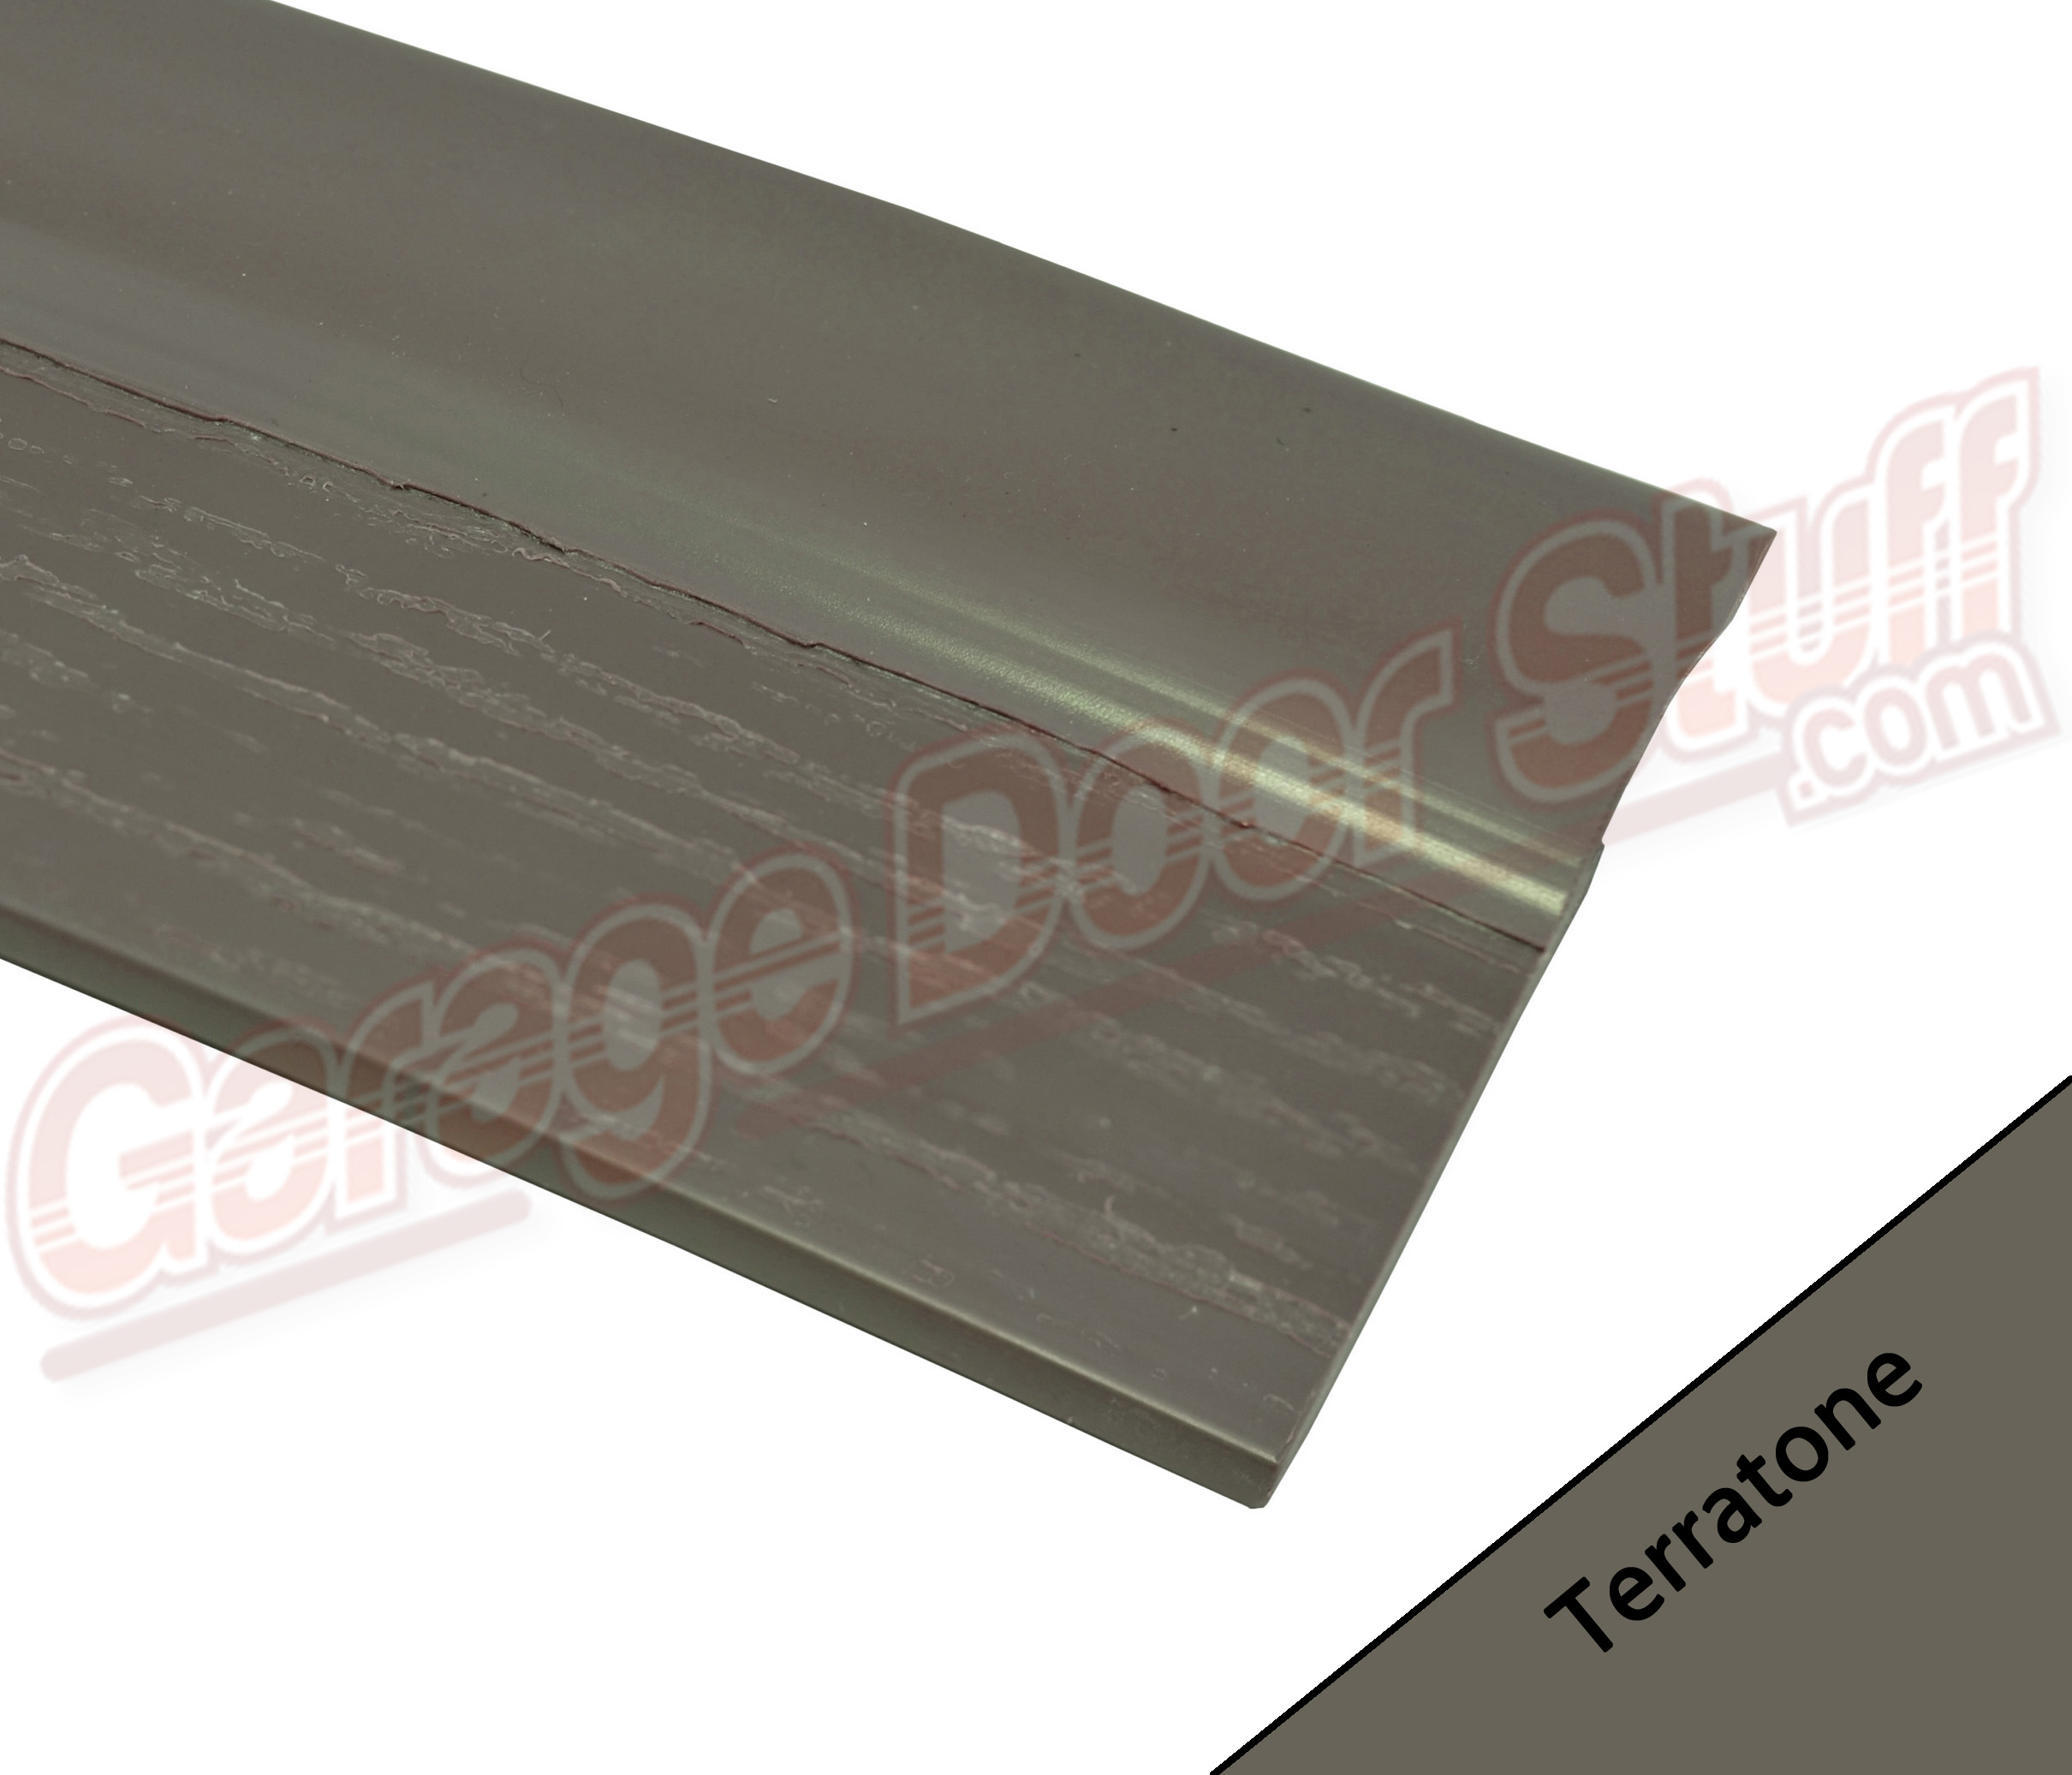
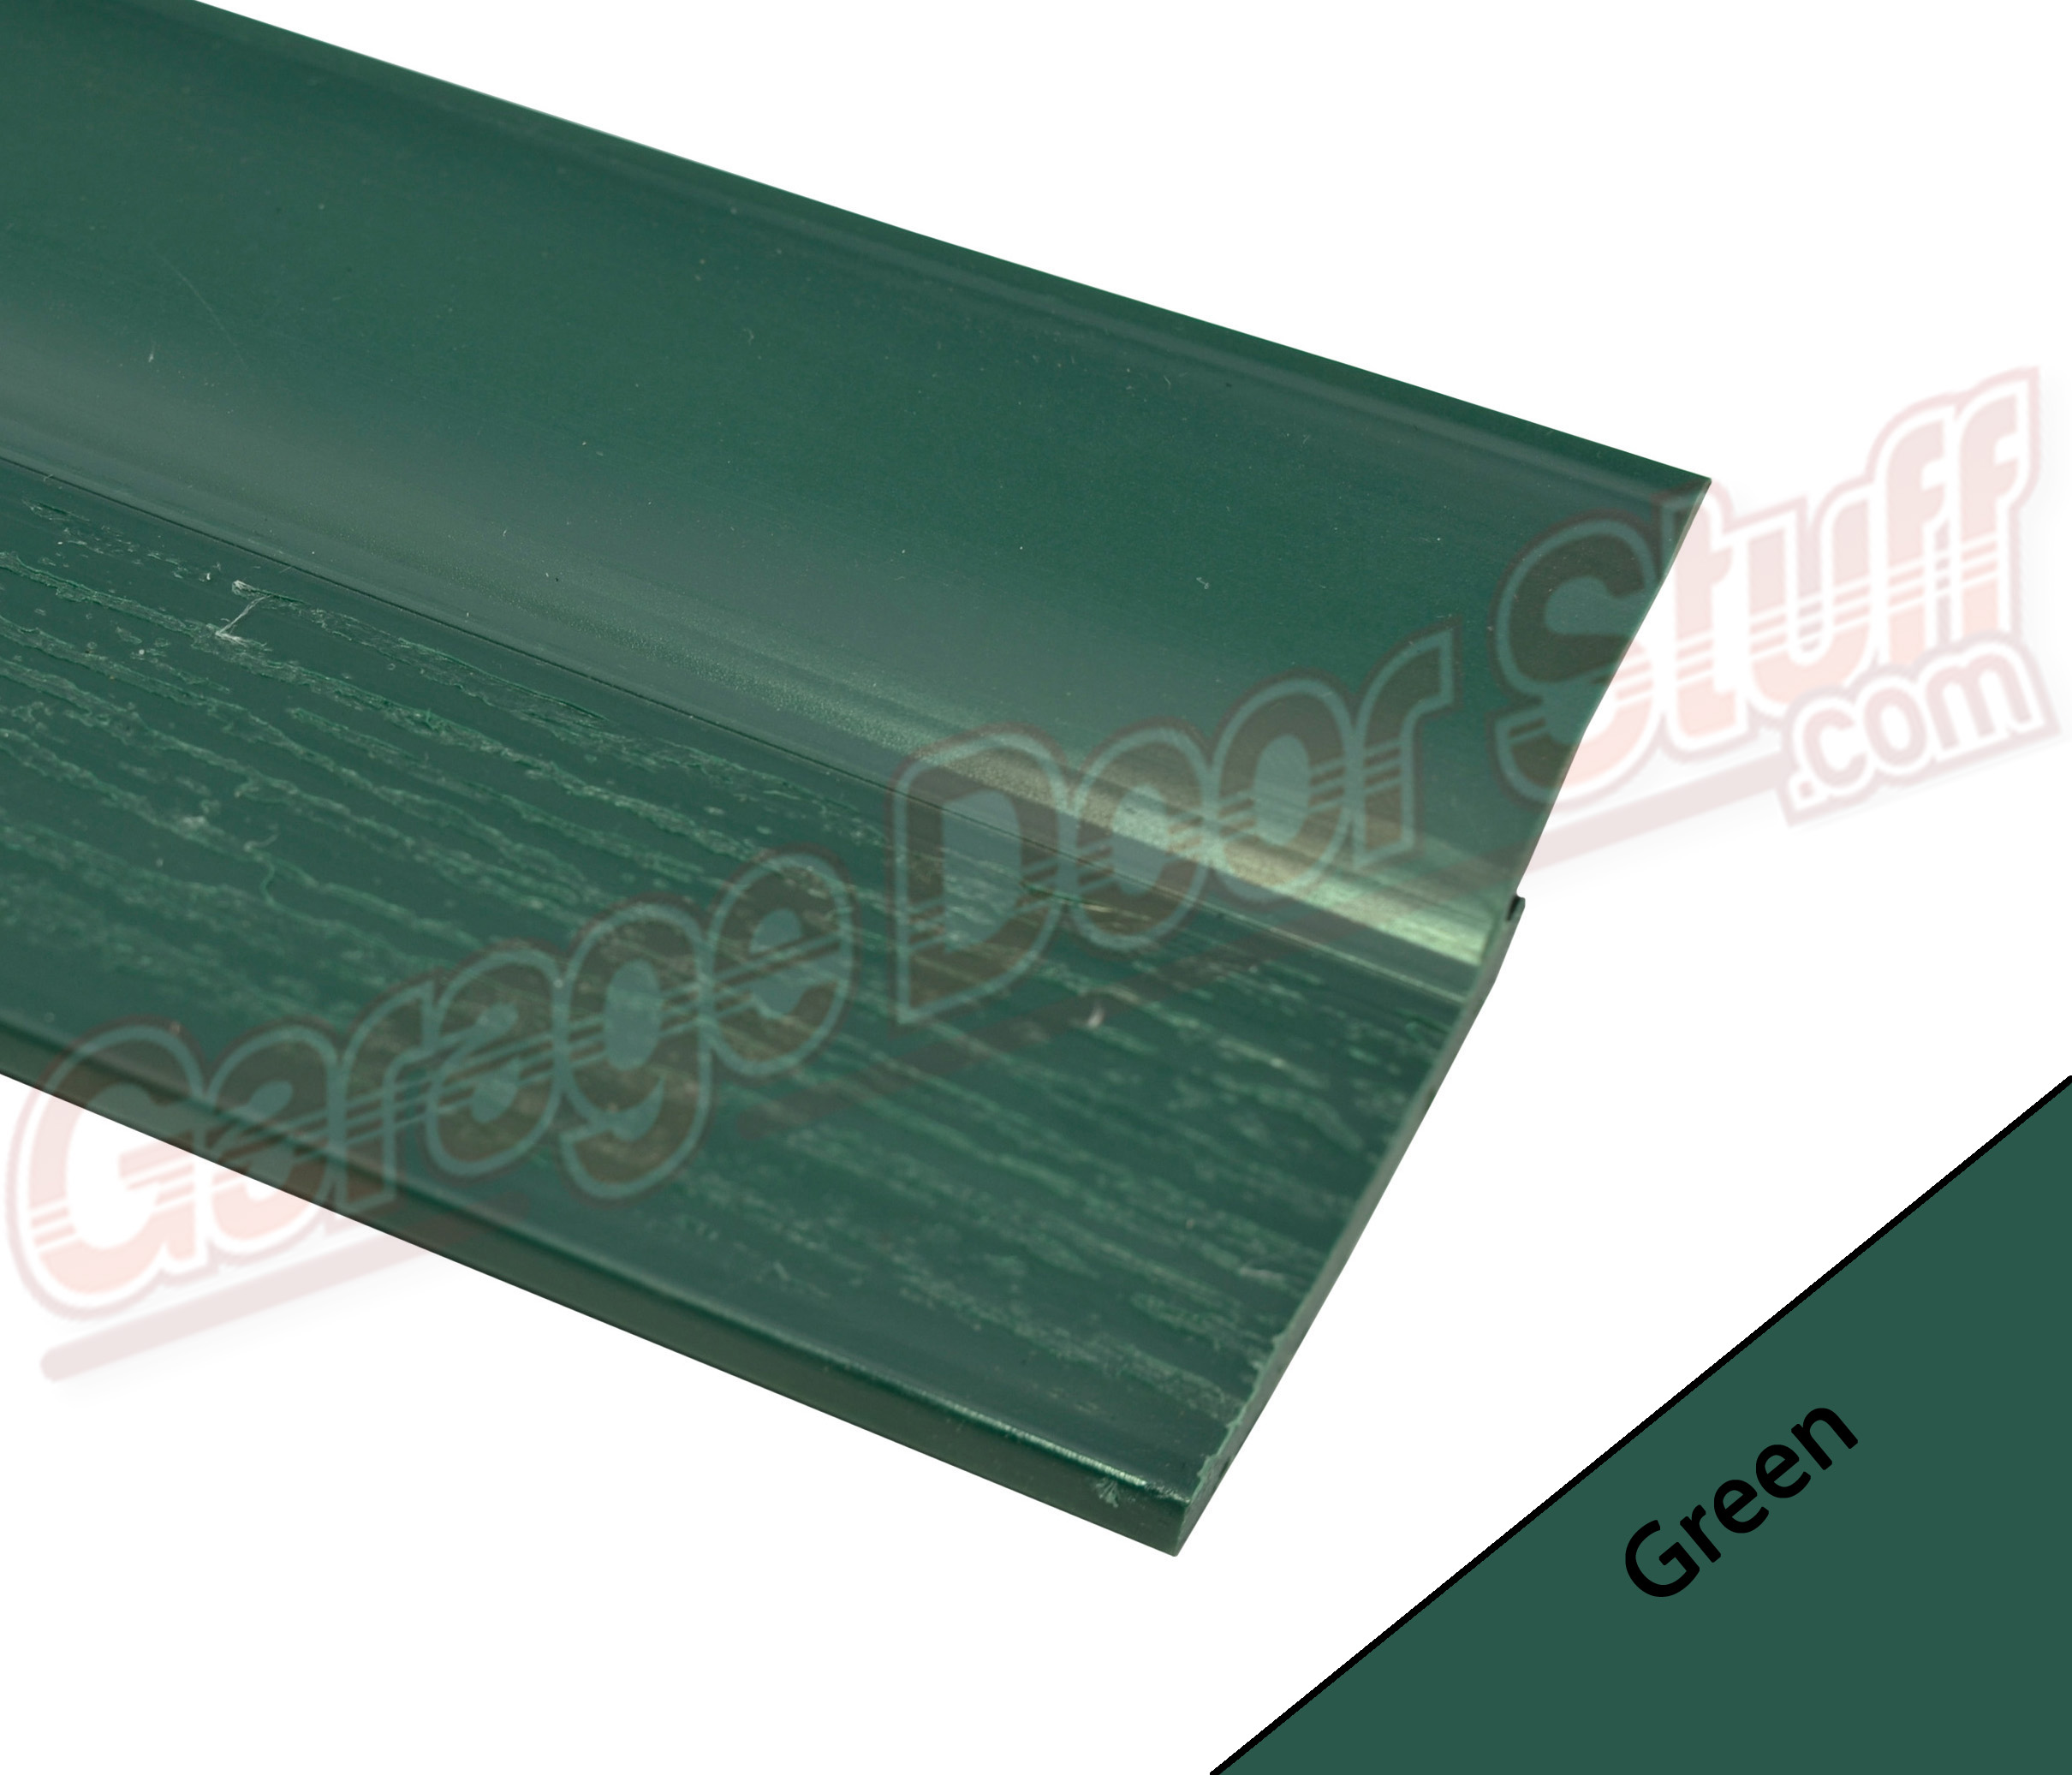
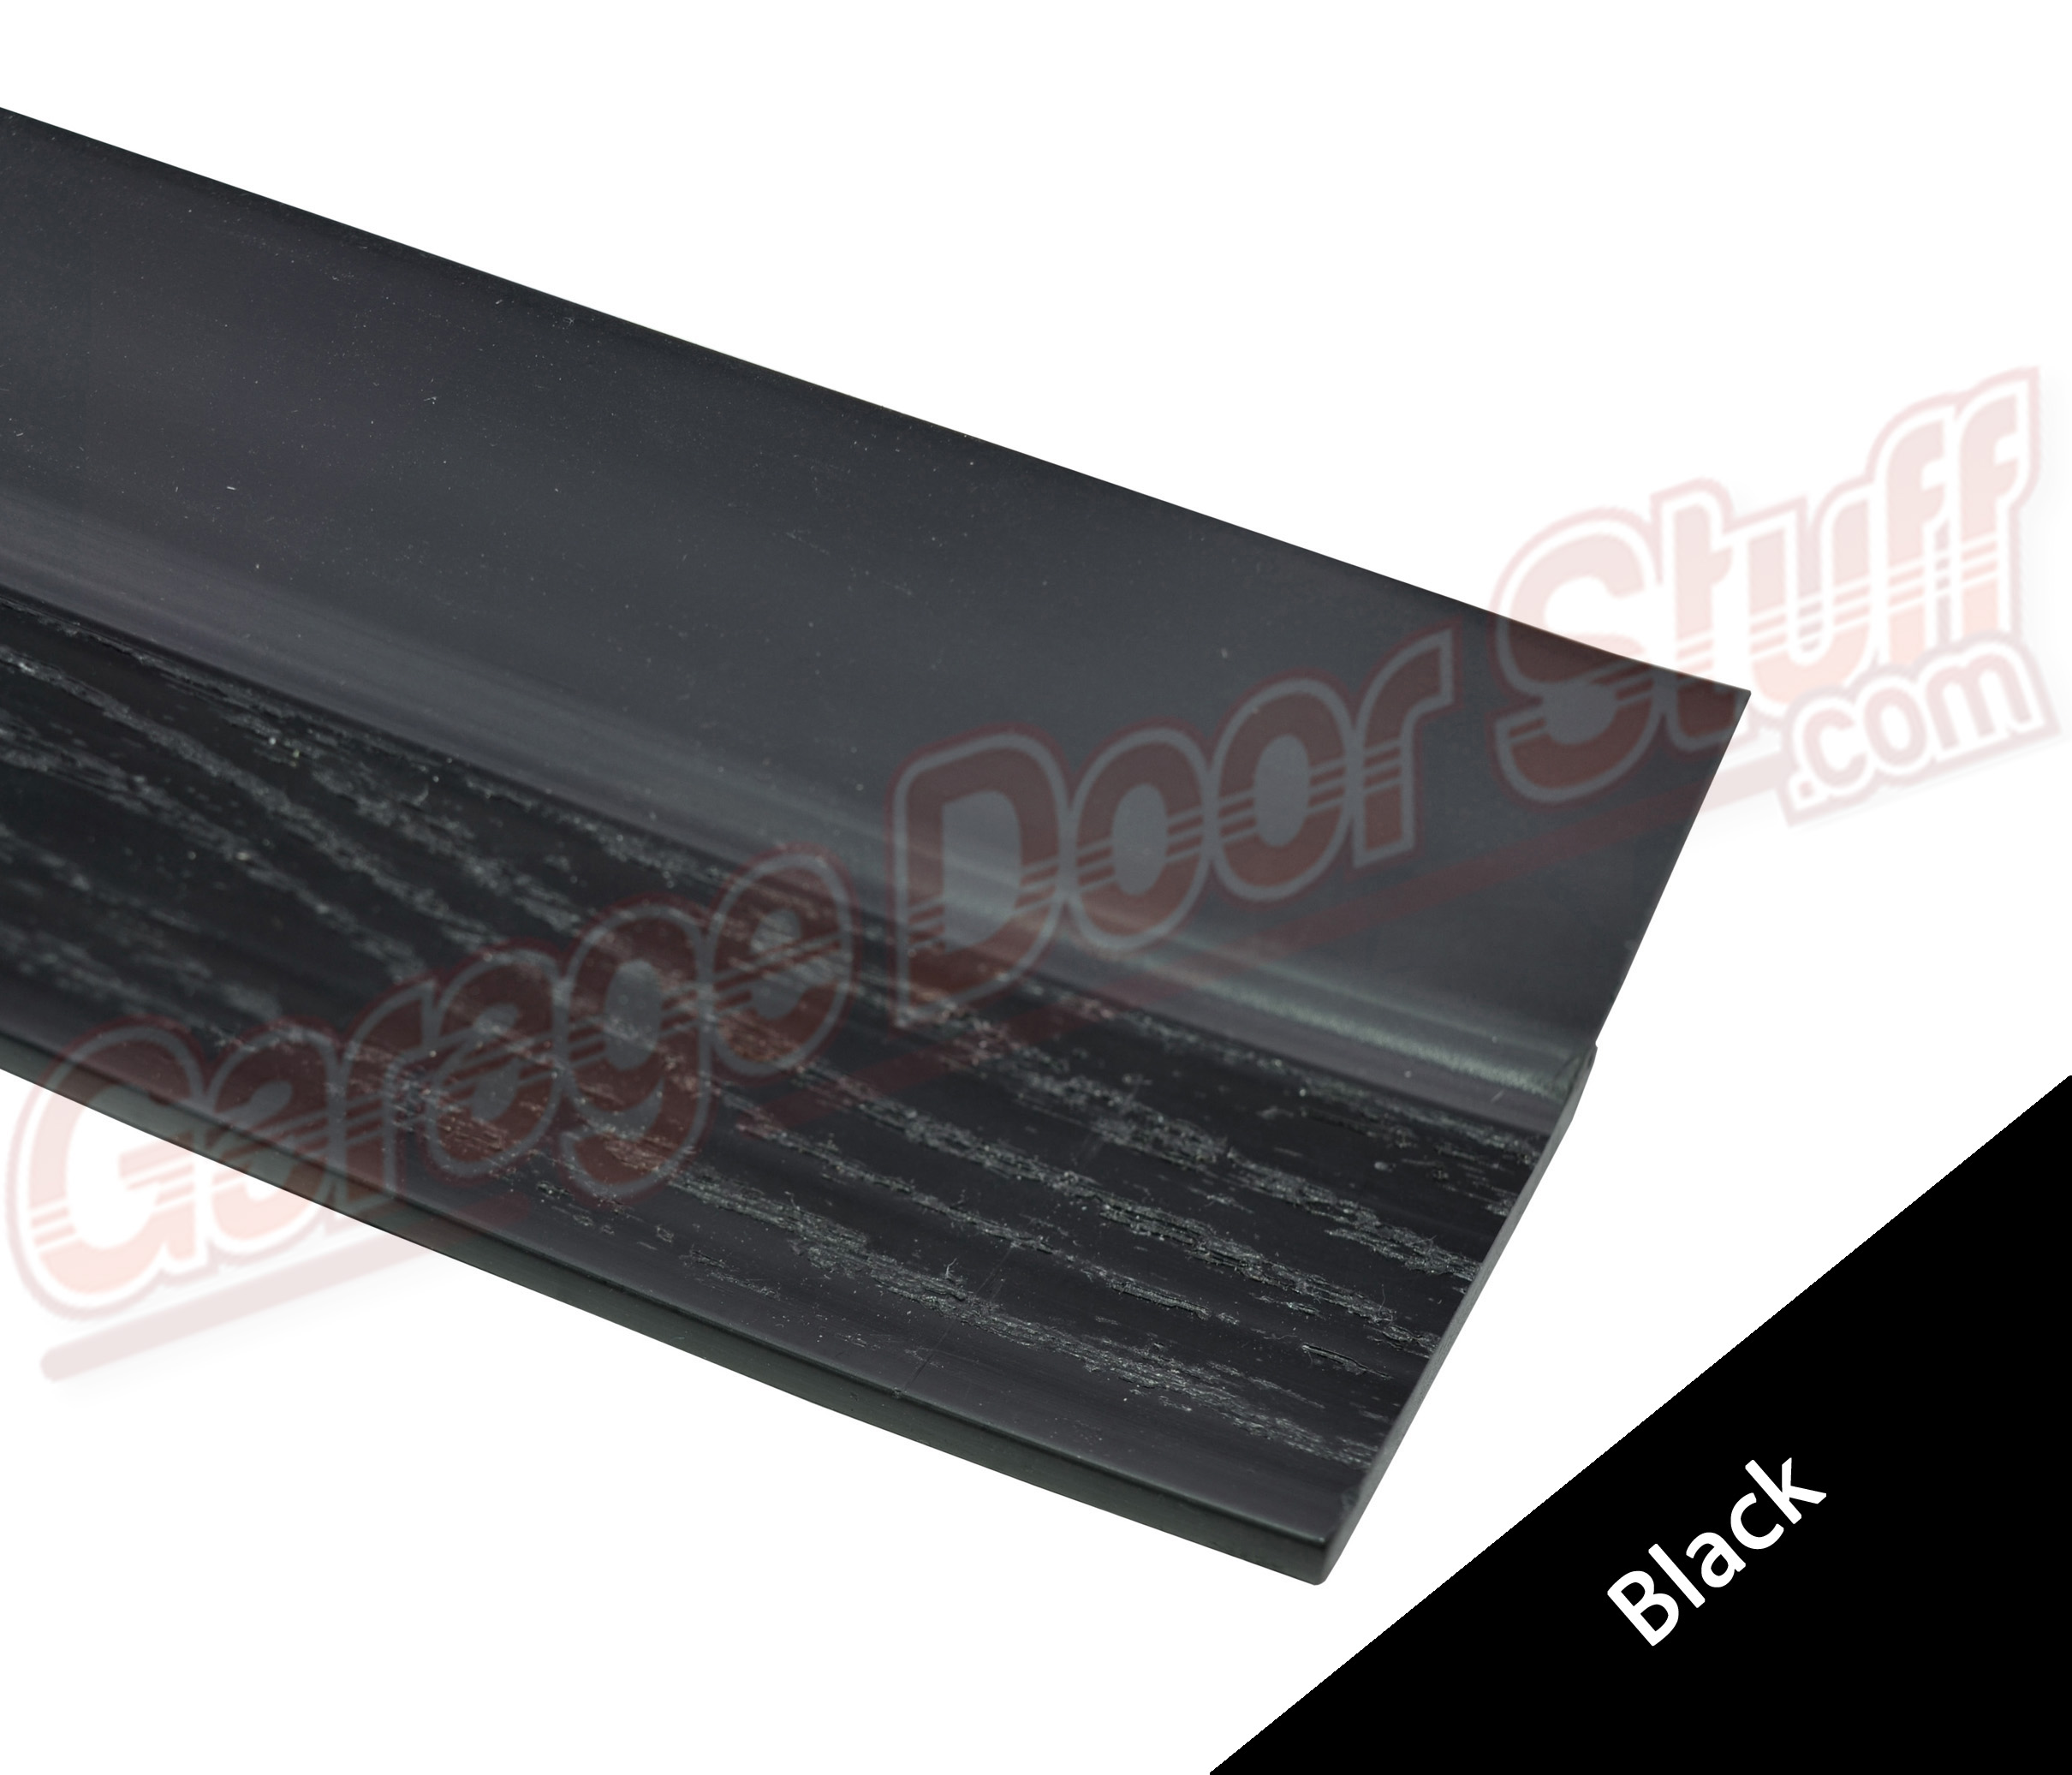
The seal is made of “No maintenance PVC” with a vinyl weather seal molded to the rigid PVC. The kit comes with color matching nails.
Install onto a door up to 12′ wide and 8′ tall.
You can find our 2 car door kit here
You may also purchase this at your custom lengths in our By the length listing
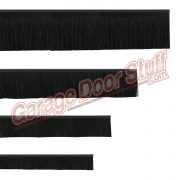
Check out our other set of colors to choose from here (also available in single/two car doors)
Specifications:
Shipped as
1 – 16′ Length strip
1 – 12′ Length strip
PVC portion is 2″ wide
Vinyl weather seal is 1-1/2″ wide and is molded to the PVC portion
Hot dipped galvanized colored nails are included and match selected color of seal.
HOW TO INSTALL GARAGE DOOR WEATHER STRIPPING
Easy to install.
Top length is cut to length and nailed in place,
Then measure, cut and install sides.
With the garage door in manual operation, open door fully, past the top of the door opening and place clamps under the two bottom rollers of the garage door. Measure the width at the top of the opening, really helps to have two people to measure and install the top piece of weather seal. Once the width measurement is established, mark the 12′ length of weather seal with a pencil using a square. Cut the PVC portion of the weather seal using a hand saw or hack saw. Cut the vinyl portion of the weather seal with a sharp utility knife. Use a piece of sandpaper or a file to remove any flash or burrs from the PVC material once you have made your cut. Starting at one end, hold the weather seal up to the opening with the back edge of the PVC even with the inside edge of the opening and the end of the weather seal up tight to the corner of the opening. Drive a nail about a foot from the corner into and through the weather seal and into the structure but do not drive the nail all the way in, nail just enough to hold the weather seal in place. Install nails approx 1′ apart down the length of the weather seal and again, do not drive the nails tight. Now measure the sides from the floor to the installed top weather seal and cut to length from the 16′ length of weather seal. Use a pencil and square like with the top piece and clean up the ends as you did on the top piece. Hold the weather seal with the inside edge of the PVC flush with the inside edge of the door opening and temp nail every 12″ just like you did with the top length, not fully driving the nails home.
Now carefully remove the clamps and lower the door. Pay close attention to the vinyl portion of the weather seal as you are closing the door to insure that the seal is not folding behind the jamb and is in fact on the face of the garage door as the door is closing. Pay particular attention to the corners where the top and side seals meet, you want the top piece of vinyl under the side piece of vinyl.
With the door closed tightly to the floor just like it will be when locked or with the garage door opener reattached, check to insure that there are no gaps between the garage door and the vinyl seal. We do not want the vinyl to be at a 90 degree angle, rather more of a J shape to the door. Check all along the seal where it meets the door to insure that this is correct, no gaps and no 90 degree angle. Adjust the weather seal to the door, in or out, by carefully pulling the nails near the area to be adjusted out of the jamb, you can then move the weather seal closer or away from the door to get the optimum seal to the door. Once that is established and before you drive the nails home, open and close the door by hand to insure that all is well and the door is operating smoothly and there are no issues between the garage door and the weather seal. Once that has been established you can then set the nails. Drive the nails just flush with the PVC portion of the weather seal, do not counter sink the nails. Now install a bead of color appropriate high quality calk along the front edge of the weather seal where it meets the structure, this will prevent any wind from getting behind the weather seal. We also like to see a bead of calk at the bottom of the side seals where the seal meets the concrete, that keeps moisture from getting in and under the weather seal.
It is now time to reattach the garage door opener if there is one present and close the door. Once the door is closed, check to see that the weather seal is properly in place and is not folded under or misshapen in any way and again, pay particular attention to the corners to insure that the weather seal is set properly in that area. We advise leaving the door closed for a day or so and when you do use the door for the first few weeks that you check the weather seal each time you open and close the door for a period of time until the weather seal takes its “set”. It will depend on the temperatures more than anything as to how long it will take the weather seal to take this “set” and once it does there is no need to continuously check to insure it is in its proper place. However, until this “set” is established it is wise to keep an eye on the weather seal
We have an overview video that will give you a good look at this product installed and also several other videos pertaining to this product and the many colors available. Check those out and you will see that this is a great product that is easy to install and will give your door a nice finished look plus provide years of service. A good quality seal around the outside of the garage door is a must and this product does the job and is available in colors to match any situation.
If you have any questions or need help with a bulk order call or email us, we’d be happy to help you.